Added some additional finishing touches to the Makerbot today to make disassembly easier, and make it easier to manage.
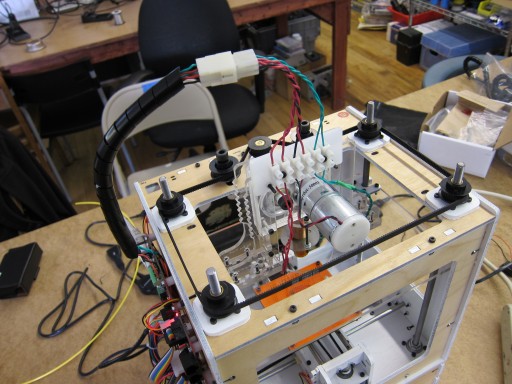
First, a terminal block mounted on the extruder body. This allows individually disconnecting the motor and the heater barrel from the extruder, and using shorter wires.
Unfortunately, the spacing on the bolt holes in the terminal block does not match the spacing of the bolts on the extruder, so I made a simple adapter with a piece of scrap plastic. I also reversed two of the M3 50 bolts, so that the terminal block mounts on the back of the extruder. This improves visibility of the filament guide, and makes running the wires from the motor easier. It also makes it possible to remove the extruder motor (ie. for cleaning the drive gear) without taking the extruder out of the Makerbot.
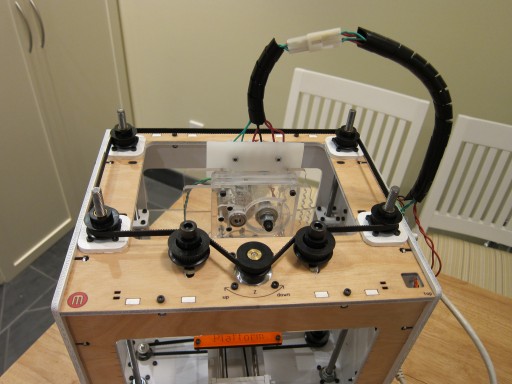
Second, I added a 6-pin molex connector into the bundle of cables that runs between the extruder and the controller board, in order to allow for easy disconnection of the entire extruder as a unit. I figure I’ll do the same when the Mk. 5 extruder becomes available.
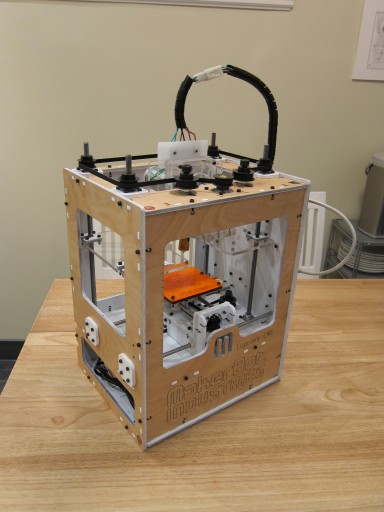
And finally, some spiral cable wrap to keep everything tidy. It turns out it really helps to keep the cables out of harm way as the Z stage goes up and down.
Now time to settle down for some serious printing…


