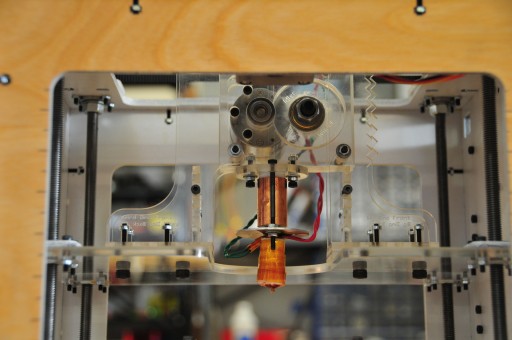
I recently put together Makerbot #1479, from Batch XIII. This is a simple 3D printer, a device that actually prints real objects using ABS plastic. It’s sold as a kit of parts for self-assembly.
The process was quite straightforward, but I made a number of modifications that seem to make it more reliable and easy to use.
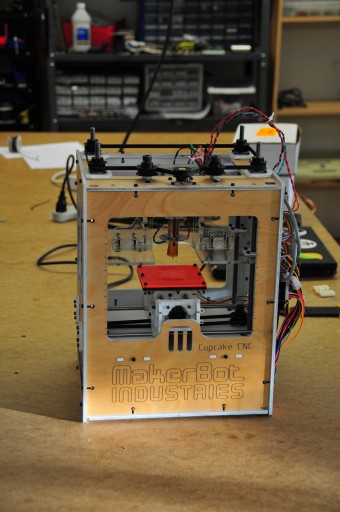
Here it is, in all its glory:
Note the elegant paintjob, white interior and two coats of matte urethane on the exterior. The quality of the plywood on recent kits is really nice, and I wanted to show it off.
Assembly was pretty straightforward, and the Makerbot kit is very cleverly designed. However, it pays to read the comments on the Wiki at each stage: there are changes and suggestions that are not in the main instruction text.
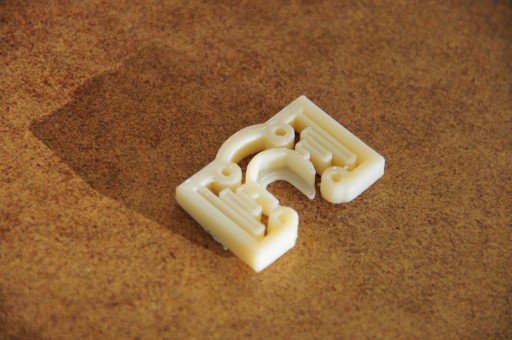
After a lot of tuning, I now have some good configuration settings, and have had some good results printing complex parts. This one is an upgrade for the Makerbot itself:
I made a number of modifications along the way, keep reading after the break to hear about them.
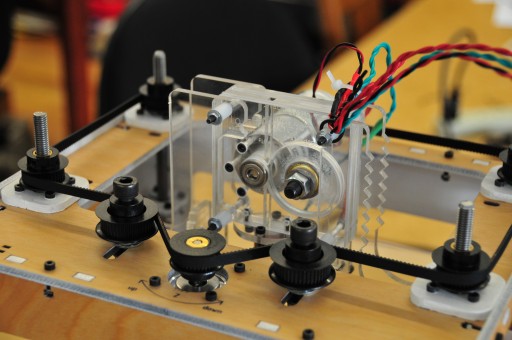
The first two modifications are to the extruder assembly. I replaced the standard pinch wheel with the new Mk. 5 wheel, which is better designed and grips the plastic filament much more effectively. I also used the spare idler wheel to make a double-width idler, which works very well with the Mk. 5 wheel. When making the double-width idler, make sure to enlarge the opening, otherwise putting the bearing in place will crack the acrylic.
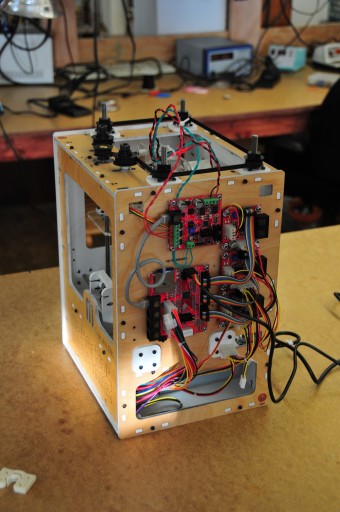
You can also see another major modification, I moved the extruder controller board to the side of the Makerbot. This allows ready access to the idler wheel nut and bolt, for adjusting tension and releasing the plastic feedstock when it gets stuck.
The slightly awkward placement is to allow easy access to the SD Card. I’ll tidy up the wires too.
Finally, I used a length of copper pipe to protect the insulator barrel. If left uncovered, the PTFE plastic insulator will soften, and will be deformed by the high pressure plastic feedstock going through. Some people have used small hose clamps to bind the insulator to the heater barrel, but this 1/2 inch copper pipe fits exactly, and does the same job. (Looks nicer too!)
I plan to install the Wobble Arrester kit, which uses self-printed parts, a modification that dramatically improves the quality of the prints.
I also have the parts for a heated build platform, which keeps parts warm during printing and keeps them from warping as they cool.

