An area that causes problems in the Makerbot is the filament drive mechanism. It has to be adjusted just so, or the filament will get jammed or strip. The system that keeps the filament engaged with the drive wheel is an acrylic idler wheel, which is sometimes uneven or wobbles. Also, the adjustment for idler wheel clearance is finicky, requires two tools (hex key and wrench) and can’t be made while the Makerbot is operating.
Fortunately, there is a lot of great innovation on this front: a fellow called Charles Pax has created the Paxtruder, which uses a Delrin piston and a screw mechanism for the filament drive. Another member of the Thingiverse community, inspired by this, has created a version of the Paxtruder that is a drop-in replacement for the original extruder body, and uses many of the same parts.
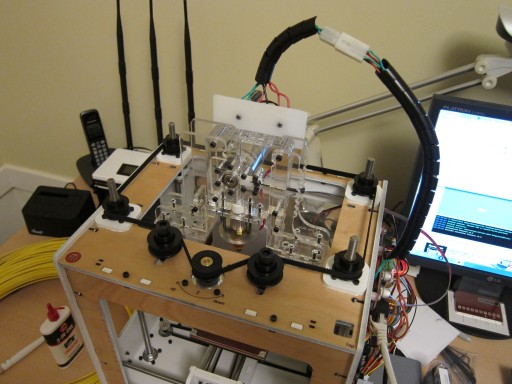
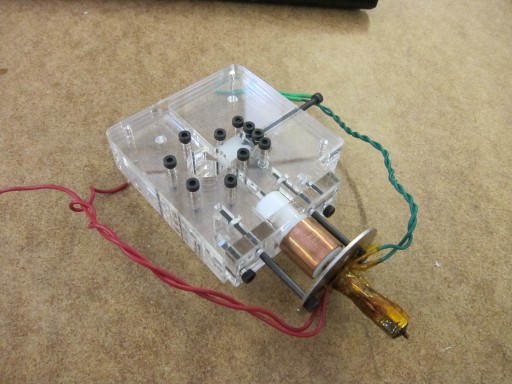
A friend of mine very kindly offered to laser-cut the acrylic parts, and I machined a scrap of Delrin to make the pusher, and now I have my very own Paxtruder:
It looks great, and works great. It is trivial to get the filament driver pressure exactly right. In addition, the design of the Paxtruder makes it super easy to remove the motor (to clean the gear), and to remove the nozzle assembly. I highly recommend it as an upgrade to the Makerbot.
This whole process reflects the power of Open Source hardware: many of the enhancements I’ve made to the Makerbot come from the community, which is empowered to innovate and share. Some of the enhancements can even be made using the Makerbot itself, in a virtuous cycle of machine evolution. Eventually these improvements get rolled into the current production model of the Makerbot. I suspect something like the Paxtruder will be the basis of the upcoming Mk. 5 extruder.


